One of the big questions for me has been how to cover the base of each cake. More accomplished bakers do fancy piping or rolled fondant, but I worried about how long that would take. Also it seems like a shame to hide the shape of the base. However, leaving it plain seems like it would dry out the cake, and also expose any cake release that clings to it. (Replacing some of the flour with cocoa helps that, but of course only works on chocolate cakes.)
My favorite go-to cake icing is chocolate ganache. It's easy, tasty, and looks great. So I decided to try that with these cake bases. It would provide a glossy, tasty coating as well as helping to adhere the layers of cake together.
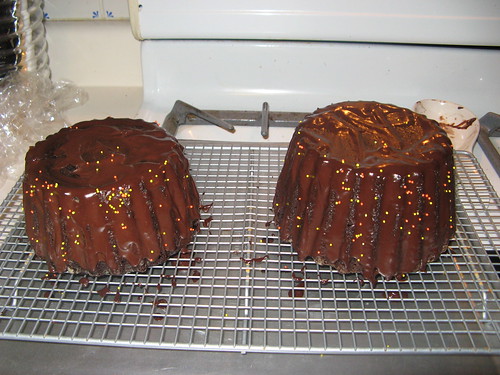
I flipped the bases top-side down onto a cooling rack over a cookie sheet, then made a simple ganache from a cup of half and half (use cream if you have it; I didn't so decided to make do) and a cup of semi-sweet chocolate chips. Melt the chocolate in the microwave or double boiler, then pour in the cream/half and half. Stir until blended thoroughly. I allowed this to cool slightly, then drizzled it carefully over the sides of both cakes. I also covered the tops (what would be the bottoms) to help adhere them to the cake boards I would use later.
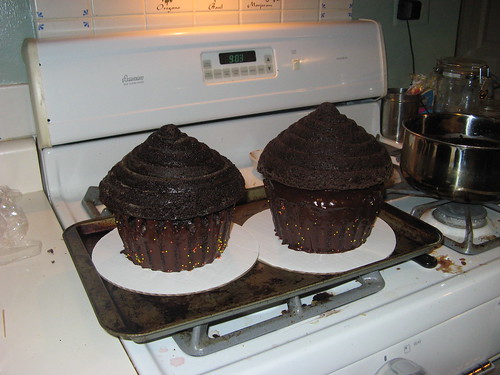
The coverage wasn't complete, but it was pretty good, with minimal waste. I then sprinkled on some holiday nonpareils for fun. Finally, I placed an 8" round cake board on each cake, set another cookie sheet on top, and inverted the whole thing. Then I removed the cooling rack and spread the remaining ganache on top of each cake base, and gently settled the tops of the cakes on the bases. In retrospect I should have leveled both sides first, but it worked fairly well anyway.
Why use cake bases? (Found in 12 packs at JoAnn's for something like $1.50.) These make moving your cake a snap, and allow the cakes to be removed from a box for presentation. For the wedding we'll cover these with grease-proof paper.


No comments:
Post a Comment